Oily Purple - Other Things
- Starting Point
- Engine
- Tin, Frame and Wheels
- Other Things
- End Game
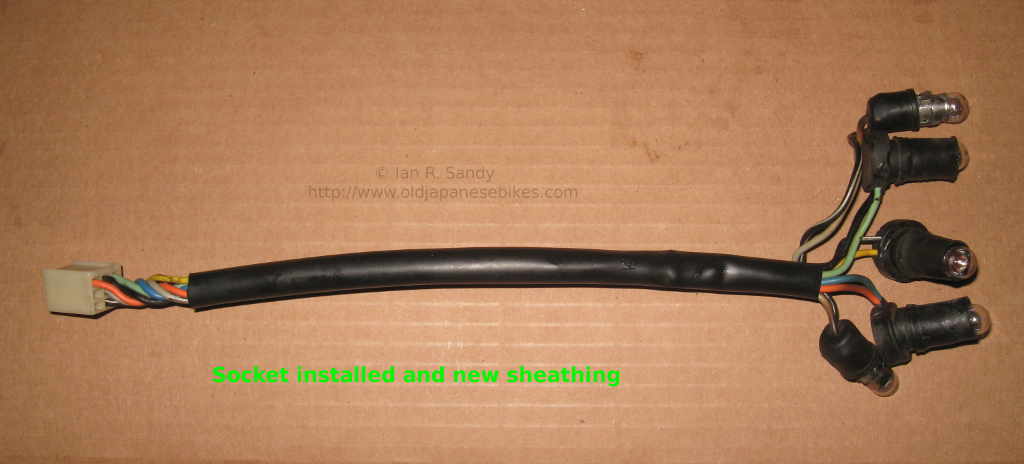
As is usual, the wiring was shot - as a matter of course, I pealed back the sheathing to get a good look and found that a short had taken out one wire pretty much the length of the harness. I rebuilt the main and sub-harnesses with new wire (heavier in some cases than original) along with new connectors. As well, I replaced the sheathing on the handlebar switches and elsewhere.

The gauges were also a mess. I normally would recommend using someone that specialises in gauge repair - Allan Tucker in Barbados for example. Allan calibrates the repaired gauges, and when he is finished with them they both look and work better than when they first left the factory. For this set however, I decided to do them myself as it will be a rider, rather than a show bike and if the gauges looked too good it wouldn't fit with the oily rag theme.
As some folks know, I had the plastic 'J' clock shells reproduced - at the same time I put together a short 'how to' guide for those that wanted to take a chance on their own repairs which may be viewed here. On this set of gauges the damper pots were dry, and as I needed to refill them I have included a photo showing where those pots are located - tachometer in the middle and speedometer on the right below.


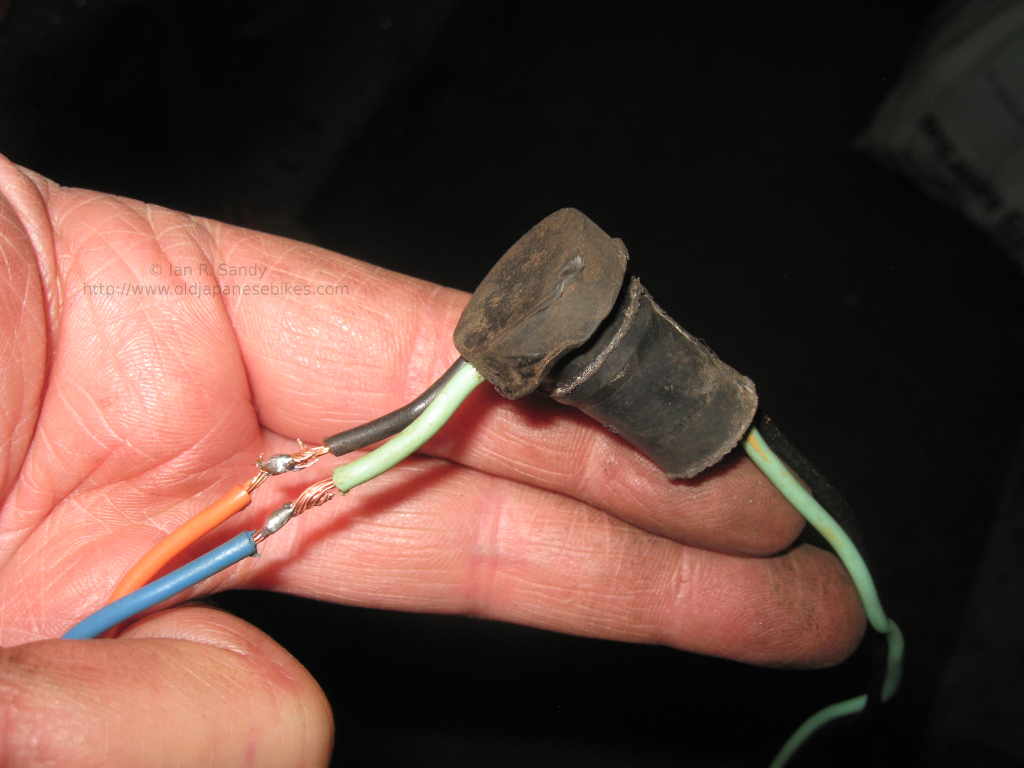
The rubber lamp sockets in the base of the speedometer and tachometer perish with age - luckily I had a few extras. At first glance, the wires seem to be sealed into the sockets as a part of the mould, but in fact they just have a dab of rubber cement to seal for weather. This can be removed and I used a set of pull wires to pull in a socket with the right colour code wires. Just click through the photo stack to see the steps. And to the right is a photo of the rebuilt gauges with the new shells - not perfect, but they work !


Please note - I don't recommend that others try rebuilding their own clocks/gauges as it is far too easy to ruin them. If you try your own repairs you are on your own. Again, if you need gauge work done, I strongly suggest you contact a specialist.
Moving on - many owners already know this, but something rivet counters like to see is the alignment punch found on the original handle bars. This punch allows you to line up the bars at the 'correct' angle when installing them.

Back to Top